
How to remove tree sap from car windows and paint comes down to two things: softening the sap without damaging the surface, then lifting it off with the least aggressive method that works.
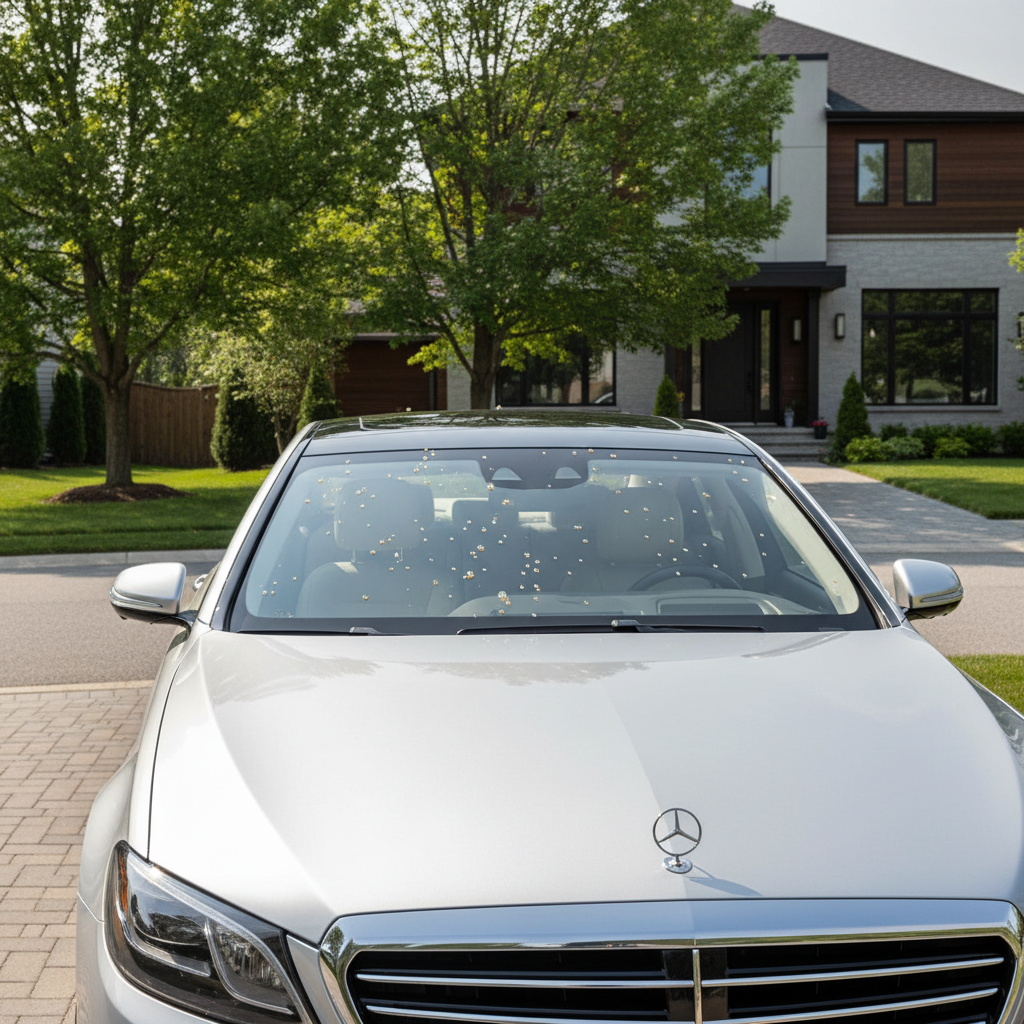
If you park under trees even once in a while, sap is one of those annoyances that escalates fast, it bakes in the sun, bonds to clear coat, and turns into a sticky grit magnet on glass. The goal is not just to “get it off,” but to avoid hazing the window, marring the paint, or stripping protection like wax and sealants.
A quick heads-up before you start: what works great on glass can be too harsh on paint, and what’s “safe for paint” can feel slow on thick sap blobs. This guide helps you choose the right approach, plus a simple decision checklist, a tool list, and a few mistakes that cost people the most.
Why tree sap is so hard to remove (and why timing matters)
Fresh sap is sticky and soft, older sap turns into a resin-like spot that clings to clear coat and glass. Heat makes the bond stronger, and dust sticks to it, turning a small dot into a scratch risk.
- On paint: sap can bond to the clear coat, and aggressive rubbing can leave swirl marks or dull spots.
- On glass: you can usually use stronger cleaners, but blades or dry scrubbing still create micro-scratches.
- On plastic trim: some solvents can discolor or stain, this is where people get surprised.
According to the U.S. Environmental Protection Agency (EPA), many consumer solvents release fumes and should be used with ventilation and label directions in mind, which matters when you’re working close to your face on a windshield.
Quick self-check: what you’re dealing with
Before grabbing the strongest product you own, take 30 seconds to classify the sap and the surface. It saves time and prevents damage.
Use this checklist
- Age: Is it fresh and tacky, or hard and amber-colored?
- Location: Glass, painted panel, matte wrap, PPF, plastic trim?
- Size: Dots, streaks, or thick blobs?
- Temperature: Is the panel hot to the touch? If yes, cool it down first.
- Protection: Do you have wax/sealant/ceramic coating? Some removers can weaken wax.
If you’re unsure whether a cleaner is safe for your paint system or wrap, treat it like a compatibility problem, test a small hidden area first, and avoid “mystery solvents.”
Tools and products: what to use (and what to skip)
You don’t need a full detailing cart, but you do need the right “contact materials,” because most damage happens from rubbing grit into the surface.
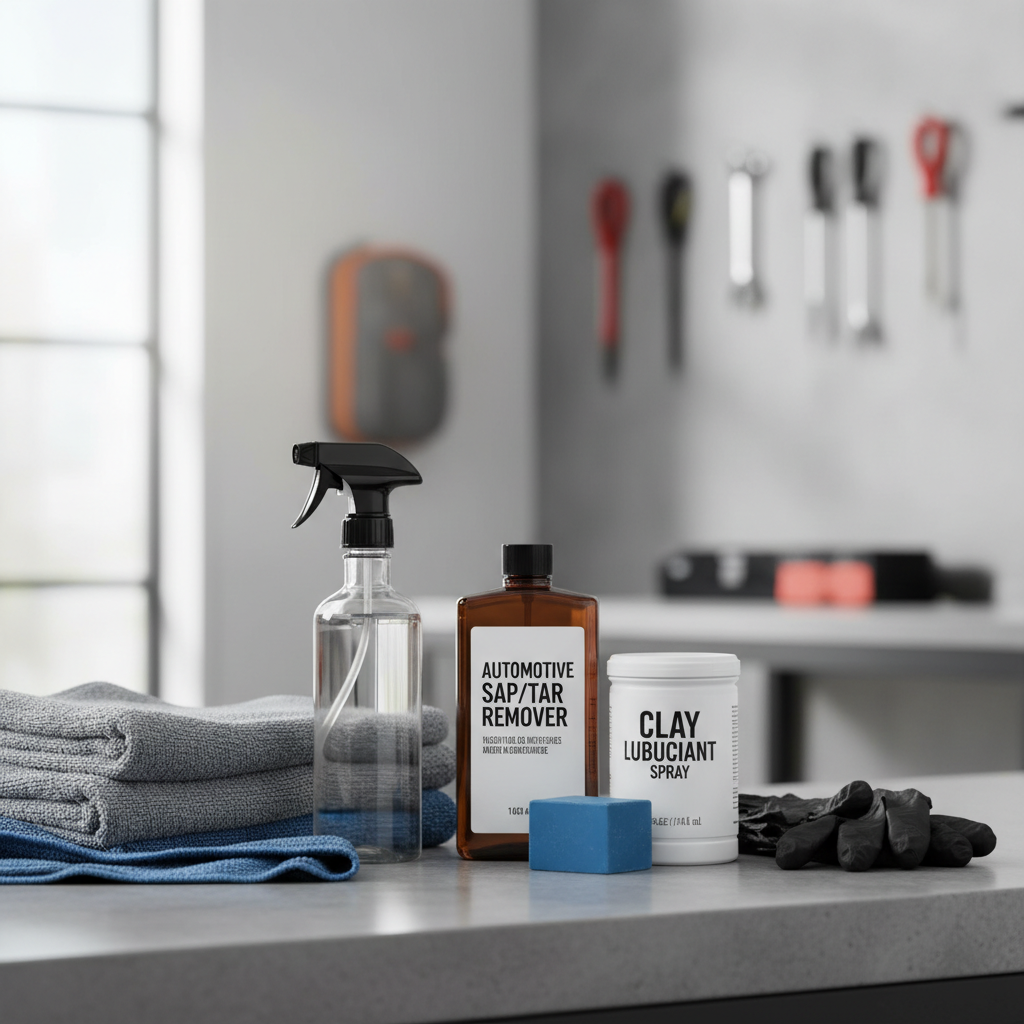
Recommended basics
- Microfiber towels (several, clean and plush)
- pH-neutral car wash soap and water
- Automotive tar/sap remover (paint-safe, follow label)
- Isopropyl alcohol (IPA) diluted with water for light sap film (commonly used detailer method, test first)
- Clay bar or synthetic clay mitt with proper lubricant (for residue, not for thick blobs)
- Glass cleaner for final wipe on windows
Usually a bad idea
- Dry scraping or rubbing with paper towels (high scratch risk)
- Razor blades on paint (don’t)
- Strong solvents not labeled for automotive finishes (can haze clear coat or stain trim)
- Magic erasers on paint (they abrade like very fine sandpaper)
Step-by-step: how to remove sap from car windows (glass)
Glass tolerates more, but technique still matters. The easiest win is softening the sap so it releases without force.
1) Wash the glass area first
Rinse and wash the window around the sap spots, then dry. This removes grit that could scratch when you wipe later.
2) Soften the sap
Spray a dedicated sap remover onto a microfiber towel (not directly into seams), then press the towel onto the sap for 30–90 seconds. On cool days, you may need a little longer dwell time.
3) Lift, don’t scrub
Wipe with light pressure, rotating to a clean section of towel. If it smears, that means it’s dissolving, give it a few more seconds and wipe again.
4) Finish clean
Use a normal glass cleaner to remove any oily film. Check in side light, residues show up as streaks.
Safety note: When using solvent-based removers on glass, ventilation helps, and gloves can prevent skin irritation in many cases. If fumes bother you, stop and switch to a milder method.
Step-by-step: how to remove sap from car paint (clear coat)
For paint, the priority is reducing friction. If you feel tempted to “just rub harder,” pause, that’s where swirls happen.
1) Move the car into shade and cool the panel
Hot paint makes chemicals flash off and makes sap feel welded on. Shade plus a cool panel gives you more control.
2) Wash and dry the panel
Even a quick wash is worth it. If you skip this step, you may grind dirt into the clear coat while removing sap.
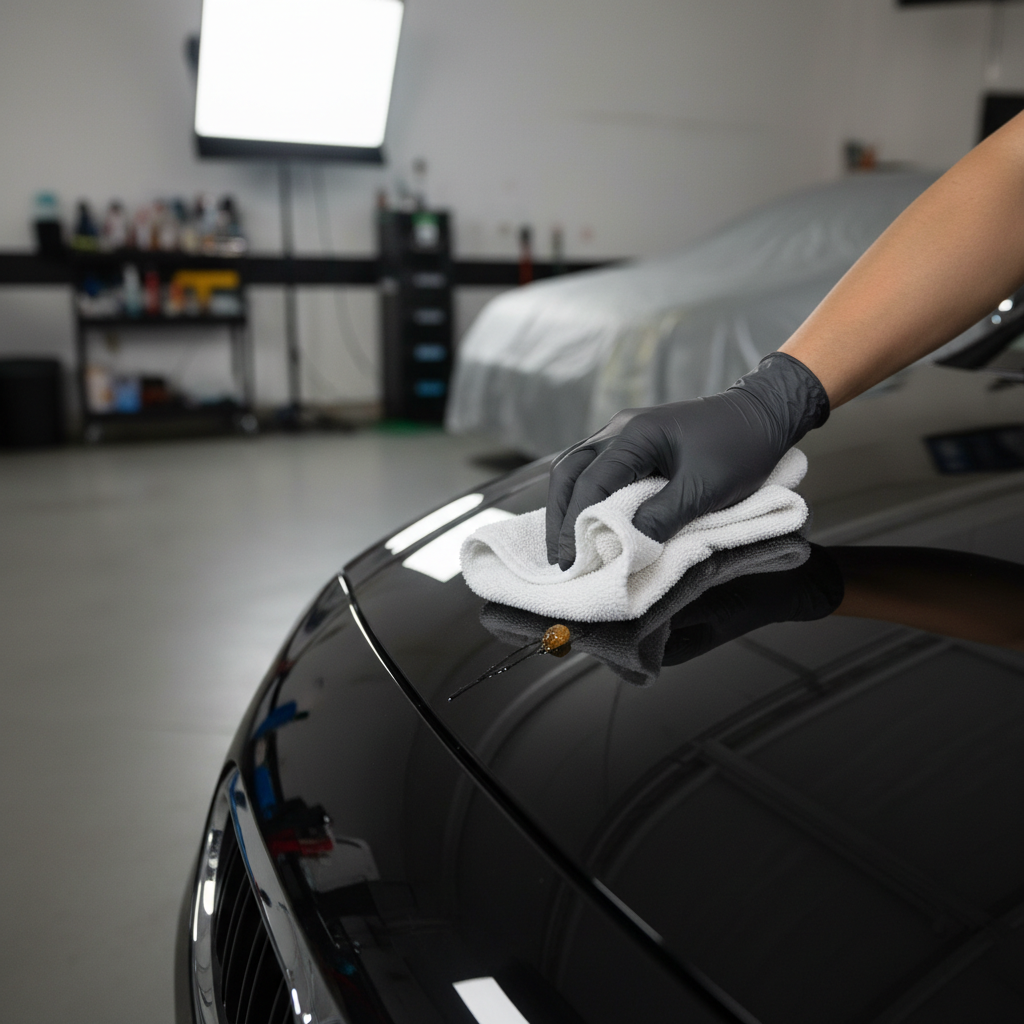
3) Use a paint-safe sap remover with dwell time
Apply remover to a microfiber towel, then dab onto the sap and let it sit. Start with short contact time, wipe, and repeat. Many situations resolve in 2–4 passes without aggressive pressure.
4) For remaining residue, clay lightly
If the sap spot is gone but you still feel a rough patch, use clay with plenty of lubricant. Keep strokes short, stop if you feel grabbing, and don’t clay a thick blob, soften it first.
5) Re-protect the area
Many sap removers and IPA mixes can weaken wax. Add a quick spray wax or sealant afterward, especially on the hood and roof where sap usually lands again.
Method comparison table: choose the least aggressive option
This is the part most people wish they had before they start. If you’re trying to decide what to do first, use this.
| Method | Best for | Pros | Watch-outs |
|---|---|---|---|
| Warm water + car wash | Fresh sap on glass/paint | Low risk, easy | Often too weak for baked-on sap |
| Automotive sap/tar remover | Most sap on paint and glass | Designed for finishes, efficient | May strip wax, avoid trim contact |
| Diluted isopropyl alcohol (IPA) | Light sap film, final residue | Accessible, fast flash | Can dry surfaces, test first on paint |
| Clay bar (with lube) | Leftover bonded residue | Great tactile results | Can mar paint if used aggressively |
| Razor blade | Glass only (stubborn spots) | Effective in skilled hands | High risk if angled wrong, never on paint |
Common mistakes that create scratches (or make sap come back)
- Rubbing a dry spot because it “almost came off,” add product and dwell time instead.
- Using one towel for everything, you want multiple clean towels so you’re not re-depositing dissolved sap.
- Spraying chemicals into edges near window seals or trim, put product on the towel first.
- Claying too soon on thick sap, clay is for residue, not for chunks.
- Skipping protection after removal, bare paint tends to grab contamination faster.
Key takeaway: if the sap is not moving, you’re not “losing,” you’re just using the wrong level of softening. More pressure rarely helps, more dwell time often does.
When DIY isn’t worth it: signs you should call a pro
Most sap removal is manageable at home, but some scenarios justify professional detailing, mainly to avoid expensive paint correction later.
- Sap has been on the car for weeks and the area looks dull or stained after removal
- You have matte paint, satin wraps, or specialty coatings, products can change the finish
- You see etching or “ghost spots” that remain after cleaning
- The sap is across a large area, and you’d need heavy claying or polishing
If you suspect clear coat damage, a detailer can evaluate whether light polishing helps or whether you should avoid aggressive correction. For leased vehicles or high-end finishes, that peace of mind is often the point.
Practical routine: keep sap from becoming a recurring problem
You can’t control trees, but you can shorten sap’s “bonding time.” A small routine usually beats emergency scrubbing.
- Carry a small kit: microfiber + small bottle of paint-safe sap remover
- Remove within 24–72 hours when possible, many cases are dramatically easier early
- Use a sacrificial layer: a spray sealant or wax makes future removal less stressful
- Choose parking spots: pines and certain flowering trees tend to be frequent culprits
Wrap-up: the safe way to get your clarity back
If you remember one thing, make it this: soften first, wipe gently, and escalate slowly. That approach handles most situations where people search how to remove tree sap from car windows and paint, and it keeps the fix from turning into a paint correction project.
Pick one action today: either clean the worst spots using dwell time and microfiber, or build a small trunk kit so you can handle sap quickly next time.
FAQ
- How do I remove tree sap from car windows without streaks?
Wash the glass first, dissolve sap with a dedicated remover on a towel, then finish with a standard glass cleaner to remove oily residue that causes streaking. - Will rubbing alcohol damage car paint when removing sap?
Diluted IPA is commonly used for light residue, but paint systems and coatings vary, so test a small spot and avoid letting it dry on the surface. - Can I use WD-40 to remove sap from car paint?
Some people do, but it can leave an oily film and may weaken wax. A paint-labeled sap/tar remover is usually a cleaner choice, and you’ll still want to re-protect afterward. - What if the sap is hardened like amber?
Give it more dwell time with a paint-safe remover and use multiple gentle passes. If it still won’t release, don’t scrape, that’s where scratches start. - Do I need to clay bar after removing sap?
Only if you feel leftover roughness. If the panel feels smooth after washing, claying may be unnecessary and can add marring if done carelessly. - Why does a “shadow” or spot remain after sap is gone?
That can be staining or light etching in the clear coat. Sometimes a mild polish helps, but if you’re not comfortable polishing, a pro detailer can assess it. - How to remove tree sap from car windows and paint if I have a ceramic coating?
Start mild and follow the coating brand’s care guidance when possible. Many strong solvents are not ideal for coatings, and a detailer can recommend a coating-safe remover.
If you’re dealing with repeated sap fallout and want a more predictable routine, a paint-safe sap remover plus a quick spray sealant can be a low-effort combo that keeps cleanup simple without guessing every time.