
The best car headlight restoration kit is the one that matches your lens condition, your patience level, and the tools you’re willing to use, because “one-size-fits-all” is where most people waste money.
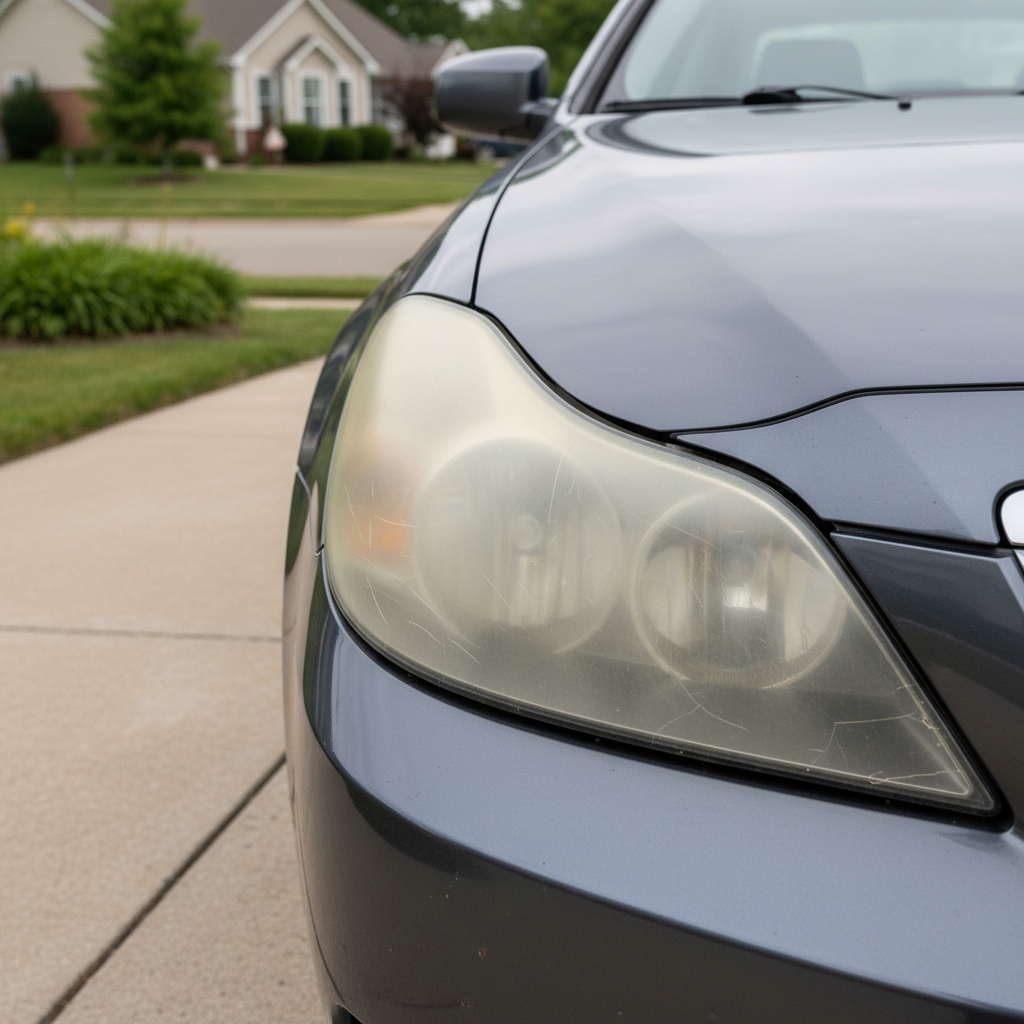
If your headlights look yellow, cloudy, or patchy, you’re not just dealing with aesthetics, you’re dealing with light output and night visibility. In many cases, restoration kits can bring back clarity for a fraction of what replacement housings cost, but the results depend heavily on prep and protection.
One more thing people miss, a kit is only half the job. The long-term difference often comes from the last step, UV protection, because the plastic lens oxidizes again if it’s left bare.
What “Best” Really Means for Headlight Restoration Kits
Most kits fall into three buckets, and each fits a different situation. If you buy based on star ratings alone, you’ll often get the wrong bucket.
- Polish-only or light-abrasive kits: good for mild haze, quick improvement, usually the easiest.
- Wet-sand + polish kits: best for moderate oxidation, more work, usually better clarity.
- Seal/coat-focused kits: best when you care about durability, the coating step can be picky but pays off.
According to NHTSA, properly functioning lighting equipment matters for roadway safety, and that includes keeping lamps unobstructed by damage or deterioration. Restoration is not a magic “safety upgrade,” but clearer lenses can help your headlights perform closer to how they were designed.
Quick Diagnosis: Which Kit Type Fits Your Headlights?
Before you shop, take two minutes to figure out what you’re dealing with. The wrong diagnosis is why people call a kit “junk” after one try.
Use this simple check (no tools needed)
- Mild haze: lens looks foggy but mostly even, no deep yellowing, your fingertip doesn’t catch on roughness.
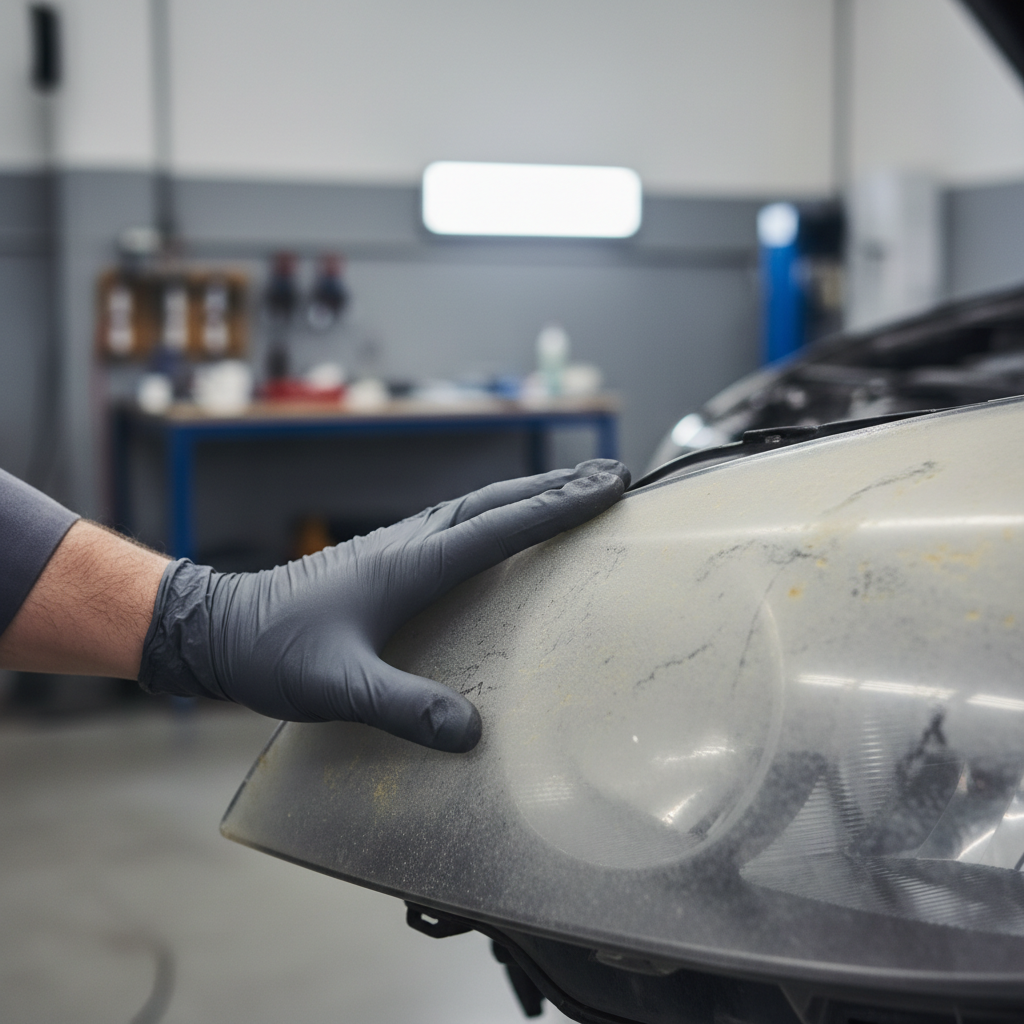
- Moderate oxidation: visible yellow/brown cast, uneven cloudy areas, surface feels chalky or rough.
- Severe damage: cracks inside the lens, moisture/condensation that keeps returning, peeling clearcoat you can flake off, deep pitting from road debris.
If you’re in the severe category, a kit may still improve things, but results are less predictable, and replacement housings may be the more realistic fix.
Also check your housing edges. If oxidation is worst along the top edge, you’ll want a kit that includes a durable UV sealant or clear coat step, otherwise that edge tends to haze first.
Best Headlight Restoration Kits 2026: Picks by Use Case
Instead of pretending there’s one winner, these are practical “best for” categories. Specific formulas and bundle contents change over time, so treat this as a selection map, then confirm what’s in the box before you click Buy.
| Best for | What to look for | Why it matters |
|---|---|---|
| Beginners | Clear instructions, included tape, few steps | Less chance of uneven sanding or missed prep |
| Heavy oxidation | Multi-grit wet sanding pads + polishing compound | Sandpaper removes the dead layer that polish can’t |
| Longest-lasting results | Dedicated UV coating or wipe-on clear coat | Protection is what delays the next haze cycle |
| No power tools | Hand-sanding ergonomics, foam pads, strong polish | Better control when you’re doing everything by hand |
| With a drill | Drill attachment, compatible polishing pad | Faster correction, can improve uniformity if used carefully |
A practical shortlist of features worth paying for
- More than one grit (for sanding kits), because jumping from rough to polish often leaves haze.
- A real UV protection step, not just “shine” or “polish.”
- Enough consumables for two headlights, some kits look cheap then run out mid-process.
If you’re comparing two options and one includes a coating step while the other doesn’t, the coating kit is often the better value, even if it costs a bit more.
How to Use a Headlight Restoration Kit (So It Doesn’t Haze Again Next Month)
The best car headlight restoration kit won’t save a rushed process. You’re doing surface correction, then sealing, and the “sealing” part is what many people treat as optional.
Step-by-step workflow (works for most kits)
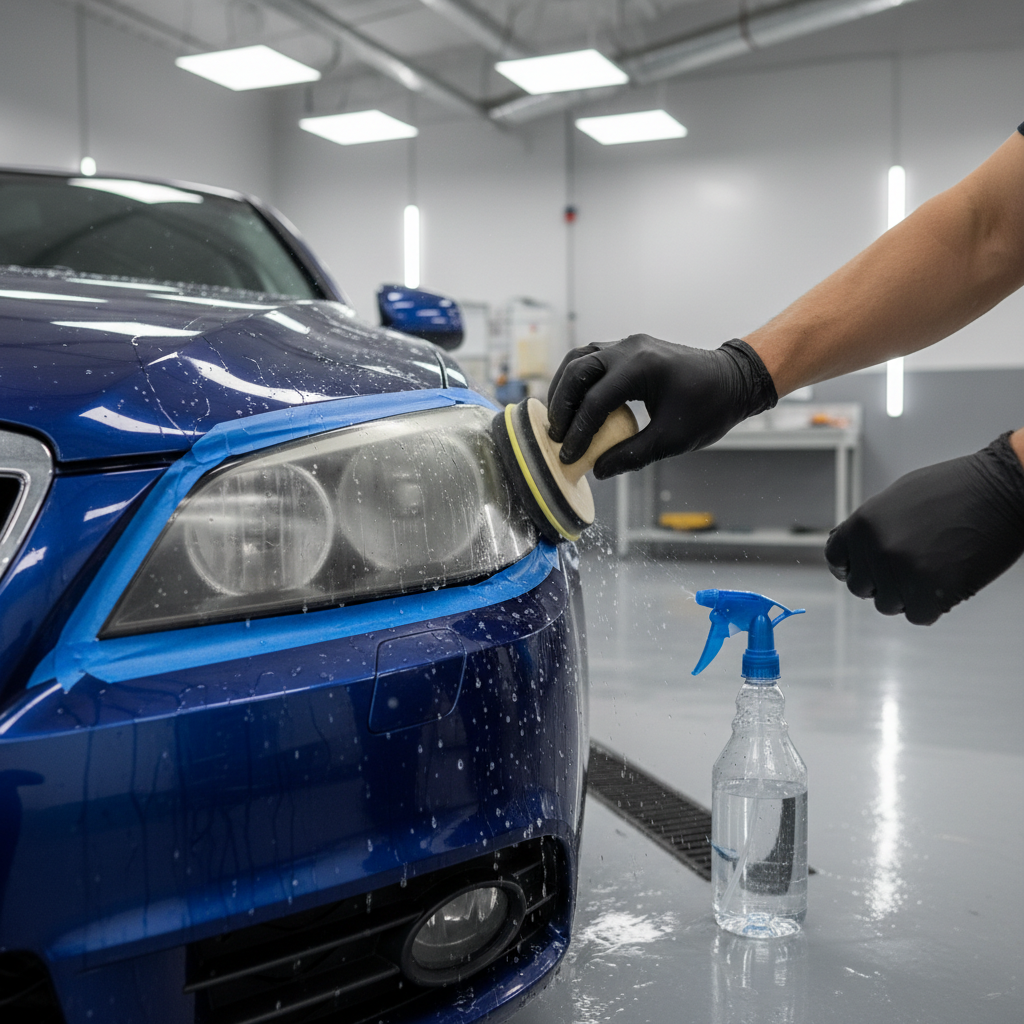
- Wash and decontaminate: soap and water first, then wipe the lens clean. Any grit left behind can cause random scratches.
- Mask thoroughly: use painter’s tape around the lens, and don’t be stingy. A slipped sanding pad can mark paint.
- Sand evenly (if included): keep the surface wet, use light pressure, and change direction between grits so you can see when old scratches disappear.
- Polish: work a small area at a time until clarity starts returning, then finish the whole lens evenly.
- Apply UV coating/sealant: follow cure times. Many coatings look great immediately, then fail early because they never cured properly.
According to 3M, following the full system steps, including the protection step, is central to achieving durable headlight clarity. In plain English, skipping the last step often turns a “good day-one result” into a disappointing month-two result.
If your kit uses a wipe-on coating, avoid windy, dusty conditions. Tiny debris can land on the wet coating and lock in as bumps you’ll see every time the sun hits the lens.
Common Mistakes (and What to Do Instead)
Most “bad kit” stories are really process issues. A few are product issues, but not as many as the reviews suggest.
- Not sanding long enough: if the lens still looks blotchy after the first grit, polishing won’t fix that. Stay on the early grit until the haze looks uniform.
- Skipping grits: jumping from coarse sanding straight to polish tends to leave fine fog. Use the intermediate pads if the kit provides them.
- Letting the lens dry while sanding: dry sanding builds heat and can create deep marks. Keep it wet unless instructions say otherwise.
- Coating on a dirty surface: if you touch the lens with bare fingers right before coating, you may leave oils that cause fisheyes or poor bonding.
- Ignoring weather: cold temps and high humidity can mess with cure times. If conditions are off, wait.
There’s also a mindset trap, expecting perfection. You can often reach “looks new from five feet,” but deep pitting or internal lens damage may still show up under harsh sunlight.
Choosing Between a Kit, a Pro Detail, or Full Replacement
A restoration kit is a strong middle ground, but it isn’t always the smartest move.
Pick a kit when:
- Haze sits on the outside surface and feels chalky.
- You can spare 45–120 minutes and work carefully.
- You want a budget-friendly improvement and you’re okay maintaining it.
Consider professional help when:
- You want a spray clear coat finish and don’t have a controlled space.
- Your vehicle has expensive headlight assemblies and you’re worried about cosmetic mistakes.
- You’ve tried once and got uneven clarity or coating failure, a pro can usually diagnose what went wrong faster.
Consider replacement when:
- There are cracks, broken mounting tabs, or water intrusion that keeps coming back.
- The inside of the lens looks hazy, many kits can’t reach internal damage.
- Reflectors inside look burned or dull, clarity alone won’t restore beam quality.
According to AAA, vehicle lighting and visibility are core safety concerns, and drivers should address issues that reduce visibility. If you’re unsure whether your lamps are still performing safely, a local inspection shop may give a more grounded answer than trial-and-error at home.
Key Takeaways and a Simple Buying Checklist
Here’s the practical way to shop without getting lost in marketing claims.
- Match the kit to the problem, polish-only for mild haze, sanding kits for heavier oxidation.
- Don’t treat UV protection as optional, durability comes from the coating or sealant step.
- Plan for prep, tape, cleaning, and patience matter more than a fancy label.
- Be honest about damage, deep pits, internal haze, and moisture issues often need a different solution.
If you want one fast rule, buy the kit that includes sanding plus a dedicated UV protectant, unless your lens is only lightly cloudy.
Conclusion: The “Best” Kit Is the One You’ll Finish Correctly
The best car headlight restoration kit is rarely the most expensive one, it’s the one with the right abrasives and a real UV protection step, and a process you’ll actually follow start to finish. Pick the right category, work evenly, and don’t rush the cure, those three choices usually decide whether your lenses stay clear or fade again.
If you’re shopping today, start by diagnosing your haze level, then choose a kit built for that severity, and set aside a calm hour where you won’t feel tempted to cut corners.