
How to check car coolant leak radiator usually comes down to two things: finding where the coolant is escaping, and confirming it’s actually coolant (not A/C water or washer fluid). If you catch it early, you may avoid overheating, warped components, or getting stranded at the worst time.
Radiator leaks are tricky because coolant can drip in one place but originate somewhere else, like an upper hose, the radiator cap area, or the plastic end tanks. Heat, pressure, and vibration move the evidence around, so a quick glance often misses the real source.
This guide walks you through a safe, practical check you can do at home, what to look for in real-world scenarios, and how to decide whether you can tighten, replace, or you should stop driving and get help.
What a radiator coolant leak looks like in the real world
Fresh coolant rarely looks dramatic. More often you see subtle clues that build up over a few days. The common “tells” depend on the coolant type and where it lands.
- Puddle or damp spot under the front of the car after parking, often slightly sticky.
- Sweet smell near the grille or after shutting the engine off.
- Crusty residue (white, green, pink, or orange) around hose joints, seams, or the radiator cap neck.
- Low coolant level in the reservoir that keeps dropping even after topping off.
- Temperature gauge creeping up in traffic or on hills.
One easy mistake: water dripping under the car from the A/C evaporator drain is normal on warm, humid days. That liquid is clear and not slippery, and it usually drips near the passenger-side firewall area, not from the radiator zone.
Safety first: don’t open the system hot
Cooling systems run under pressure. Opening a hot radiator cap can release scalding coolant and steam. If you’re troubleshooting after a drive, give it time to cool down fully.
- Park on level ground, set the parking brake, and let the engine cool.
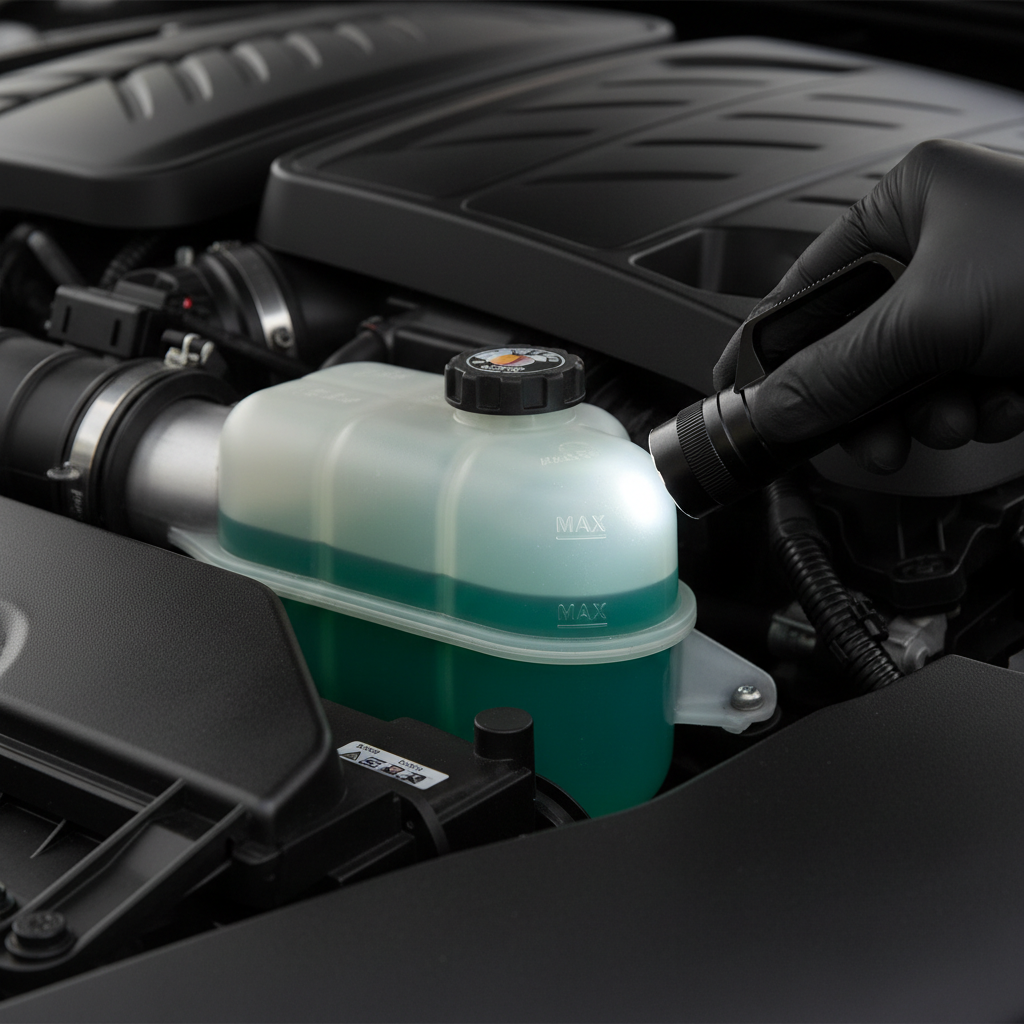
- If you must check levels, use the coolant reservoir markings first, not the radiator cap.
- Wear gloves and eye protection, and keep pets away since coolant can be harmful if ingested.
According to NHTSA, overheating and maintenance-related failures can contribute to roadside breakdown risks, so if the temp gauge spikes, pulling over safely is usually the smarter move than “limping home.”
Quick self-check checklist (10 minutes)
If you want a fast answer before you start disassembling anything, this checklist helps narrow it down. It’s also a good way to decide if you can keep driving short distances.
- Check the reservoir level when cold. If it’s below MIN, note it, don’t just top off and forget.
- Look under the radiator support and splash shield for wetness or colored staining.
- Inspect the radiator cap area for dried crust, and the cap seal for cracks.
- Squeeze upper and lower radiator hoses (cold engine). Soft spots, bulges, or cracking often mean the “leak” is actually a hose issue.
- Check hose clamps for seepage lines. Worm clamps can loosen over time.
- Look at the radiator end tanks (plastic sides) for hairline cracks or a wet seam.
- Scan for spray patterns on the fan shroud or belt area, which can happen when a small leak atomizes while driving.
If you find wetness but can’t tell if it’s coolant, touch a small drop with a paper towel: coolant typically feels slightly slick and may leave a faint color. Don’t taste it, and wash your hands after.
Step-by-step: how to check a radiator leak more confidently
Once the quick check points to the radiator area, use a more deliberate process. The goal is to verify the source, not just the symptom.
1) Clean and re-check
Old residue can mislead you. Wipe the suspected area with a damp rag, then drive a short loop and re-check. Fresh seepage is easier to trace back to its origin.
2) Use cardboard or paper under the front end
Slide a flattened box under the radiator area overnight. In the morning, the drip location helps you map where to look above, especially if a splash shield hides the path.
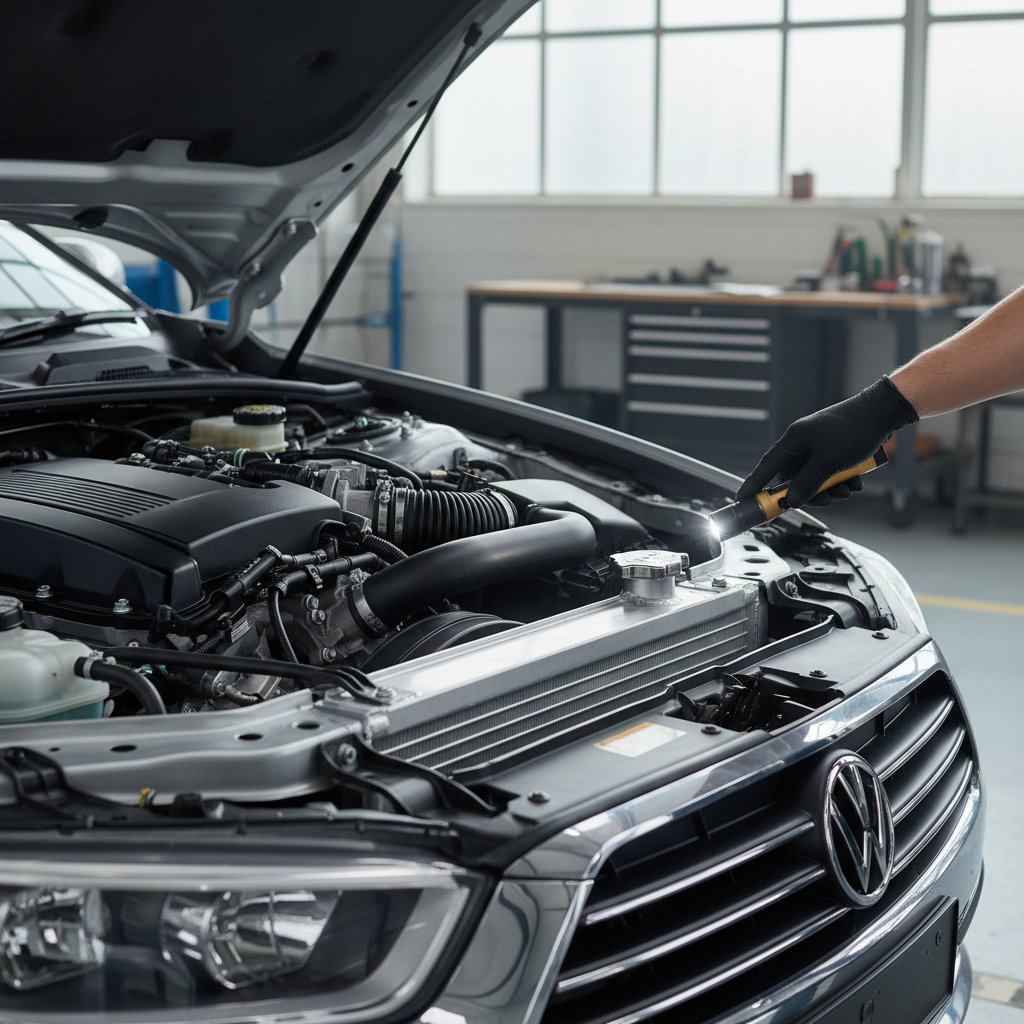
3) Inspect with a bright light from multiple angles
Radiators leak from seams, tube joints, or the drain petcock area. Use a flashlight and look from the top, then from the lower corners. If you only check from above, you often miss the bottom tank seam.
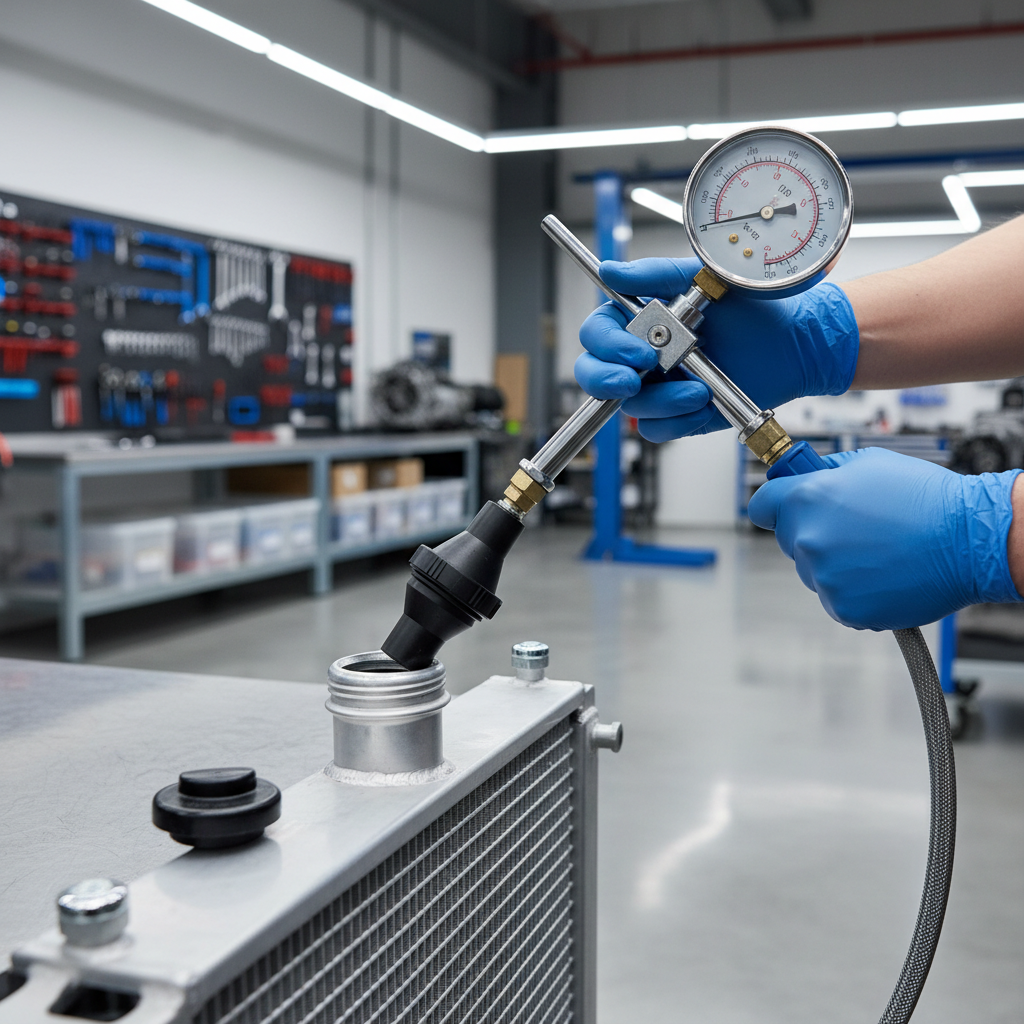
4) Pressure test if you want an answer without guessing
A cooling system pressure tester pumps the system to its rated cap pressure (commonly shown on the cap). This can reveal slow leaks without the engine running. Many auto parts stores loan these tools, but always follow the tool instructions and your vehicle service info.
According to AAA, preventive maintenance checks (including cooling system attention) can reduce the odds of breakdown situations, and pressure testing is one of the standard diagnostic approaches in shops.
5) UV dye for intermittent leaks
If the leak only shows up on long drives, UV dye can help. You add dye compatible with your coolant, drive, then inspect with a UV light to see bright tracing at the source. If you’re unsure about compatibility, ask a parts counter or a mechanic since mixing products can create problems in some systems.
Common radiator-area leak sources (and what they usually mean)
People search how to check car coolant leak radiator and expect “the radiator is cracked,” but plenty of leaks near the radiator aren’t the core itself. This table keeps the suspects organized.
| Where you see coolant | Likely source | What you can check | Typical next step |
|---|---|---|---|
| Top seam or near cap | Cap seal, filler neck, upper hose connection | Cap gasket cracks, crust around neck, clamp tightness | Replace cap or clamp, inspect hose end |
| Lower corners of radiator | End tank seam, drain petcock, lower hose | Wet seam line, petcock area dampness, hose softness | Radiator repair/replace, or hose replacement |
| Spray on fan shroud | Small pinhole leak pressurizing while driving | Look for tiny wet spot, use pressure test or UV dye | Radiator replacement often needed |
| Puddle more to one side | Hose, thermostat housing, nearby fitting | Follow residue trail upward, check hose clamp tracks | Address fitting/hose before blaming radiator |
Fix-or-defer decisions: what’s reasonable to do at home
Some actions are realistic DIY, others look easy online but become a mess in the driveway. Here’s the practical split.
Reasonable DIY in many cases
- Tighten or replace a hose clamp if you see seepage at the hose end. Don’t overtighten and crush a plastic radiator neck.
- Replace a radiator cap when the seal is damaged or the cap can’t hold pressure. Match the pressure rating and design.
- Replace a swollen or cracked hose and refill with the correct coolant mix per your owner’s manual.
Usually not worth “temporary fixes”
- Stop-leak products may reduce a small seep for a while, but they can also clog small passages in some cooling systems. If you’re using it as an emergency option, treat it like a short-term bridge, not a solution.
- Plastic tank seam leaks on many modern radiators tend to worsen with heat cycles. If the seam is wet, replacement is often the cleanest long-term route.
If you must drive before repair
If you’re waiting on parts, keep trips short, avoid heavy traffic, and watch the temperature gauge like it’s your job. Carry premixed coolant or distilled water (your manual may specify what’s acceptable short-term). If the gauge climbs above normal, shut it down and reassess.
Common mistakes that waste time (or make the leak worse)
- Filling to the brim and assuming the problem vanished. The system needs the right level and room for expansion.
- Chasing the drip spot under the car instead of tracing upward to the highest wet point.
- Mixing coolant types because “it’s all antifreeze.” Some formulations don’t play well together and can cause deposits. When in doubt, check the manual or ask a shop.
- Ignoring the radiator cap. A weak cap can mimic a leak by venting coolant under pressure.
- Continuing to drive while overheating. Even a brief overheat can cause expensive engine damage in some cases.
When it’s time to involve a professional
If your checks still don’t pinpoint the source, or the car overheats quickly, it’s a good moment to stop guessing. A reputable shop can pressure test, check for combustion gases in the coolant, and inspect related components like the water pump and thermostat.
- Coolant level drops fast, or you need to top off every drive
- Temperature spikes at idle or on the highway
- Visible steam, boiling sounds, or repeated “low coolant” warnings
- Coolant looks contaminated (oil sheen, heavy sludge), which can suggest a bigger issue
According to SAE International, cooling system pressure control and proper heat rejection are fundamental to engine reliability, which is why professional diagnosis matters when symptoms escalate beyond a simple seep.
Conclusion: a simple process beats random part swapping
When you’re figuring out how to check car coolant leak radiator, the fastest path is consistent: confirm it’s coolant, inspect the radiator zone cold, clean and re-check, then use pressure testing or UV dye when the leak stays hidden. That approach saves you from replacing the wrong parts.
If you want one action today, place cardboard under the front end overnight and inspect the radiator seams and hose connections in the morning. If the level keeps dropping or the engine runs hot, book a diagnostic sooner rather than later, cooling system problems rarely fix themselves.
Key takeaways
- Don’t open a hot radiator cap, wait until fully cool.
- Residue trails matter more than puddle location.
- Cap, hoses, and clamps cause many “radiator” leaks.
- Pressure tests and UV dye reduce guesswork for intermittent leaks.
FAQ
How do I know if the liquid under my car is coolant or just water?
Coolant often has a sweet smell and a slick feel, and it may show green, orange, pink, or blue color on paper. A/C condensation is clear water and usually drips more toward the passenger-side firewall area.
Can a radiator leak only when driving?
Yes. Some leaks show up under pressure and airflow, so you might see spray patterns on the fan shroud or only lose coolant after highway speeds. A pressure test or UV dye inspection is usually more reliable than a cold visual check alone.
What’s the easiest way to find the exact leak point?
Clean the area, then re-check after a short drive, and look for the highest fresh wet spot. If that still isn’t clear, a pressure tester tends to pinpoint slow leaks without needing the engine running.
Is it safe to drive with a small radiator coolant leak?
Sometimes you can drive a short distance if the temperature stays normal and you keep coolant topped to the proper level, but the risk is the leak can worsen quickly. If the gauge rises above normal or you see steam, it’s safer to stop and get assistance.
Do radiator stop-leak products actually work?
They can slow certain small leaks, but results vary a lot and they can create side effects in some systems. If you use one, treat it as a temporary measure and plan a proper repair.
Could the radiator cap cause coolant loss without a visible leak?
It can. A cap that can’t hold pressure may vent coolant into the overflow or out of the cap area, especially after a hot drive. Checking the cap seal and matching the correct rating is a simple, inexpensive step.
Why does my coolant reservoir keep dropping but I don’t see puddles?
It may be a slow seep that evaporates on hot surfaces, an intermittent leak, or coolant pushed out under pressure while driving. That’s when pressure testing, UV dye, and checking around the radiator seams and hose ends usually pays off.
If you’re trying to pinpoint a leak but the evidence keeps disappearing, you may prefer a more straightforward route: ask a shop to run a cooling-system pressure test and cap test, then you can decide whether it’s a hose/clamp fix or a radiator replacement without buying parts blindly.